How I store my lenses safely
Often time you see people on Youtube showing off their gear on their background, lining up their lenses and cameras. And while it looks good, well I live in Japan and doing that is kind of playing with fire. Today I am going to share with you how I personally store my gear to make sure that it is earthquake proof and stored safely.
1 - The advantage of a case
As said in the introduction, the main reason why I decided to store my gear in cases is first to make sure that nothing happens to it during earthquake. If you have your gear on your desk or on a piece of furniture in Japan, during an earthquake, you have the risk of your lenses rolling over, your camera falling and I just don’t want that to happen to me. It’s one thing if the camera is failing on me because of a reason I can’t control but if they break because I did not secure them, that would feel bad.
A second good reason is for transportation. I often go to various locations by car and being able to just put a couple of cases in my trunk that has everything that I need to shoot is a big advantage. Backpacks are great, but sometimes you are not sure of what you will need and having cases with some extra batteries, microphones or lenses that you can access if needed is a great option to have. It keeps your gear organized and quite compact on location or set. And that’s a great thing.
A third reason is also storage. I personally have a trunk room for my gear and having everything in cases in stead of every single piece dangling around is also a huge advantage.
2 - My recommendation - MEIJIA Portable Waterproof Case
What I look for in a case is mainly 3 thing - shock proof, easily customizable and not extremely heavy.
Shock proof is a given. You want something that is able to take a hit without having your lenses and cameras getting destroyed. The case has to be solid enough but the inside also has to be good enough so that your gear does not get the shock and does not move when your case takes a hit.
Easily customizable is also a big plus. I don’t want to have to cut through foam with a knife, or needing to have special tools to set up my case. I should be able to set it up without needing anything else.
Some cases can get super heavy. And that’s not the type of cases that I am looking for. Sometimes it makes sense to have a very heavy case if you are protecting a 50k$ lens. But in my case, for the range of gear that I am working with, I want to keep the weight relatively low.
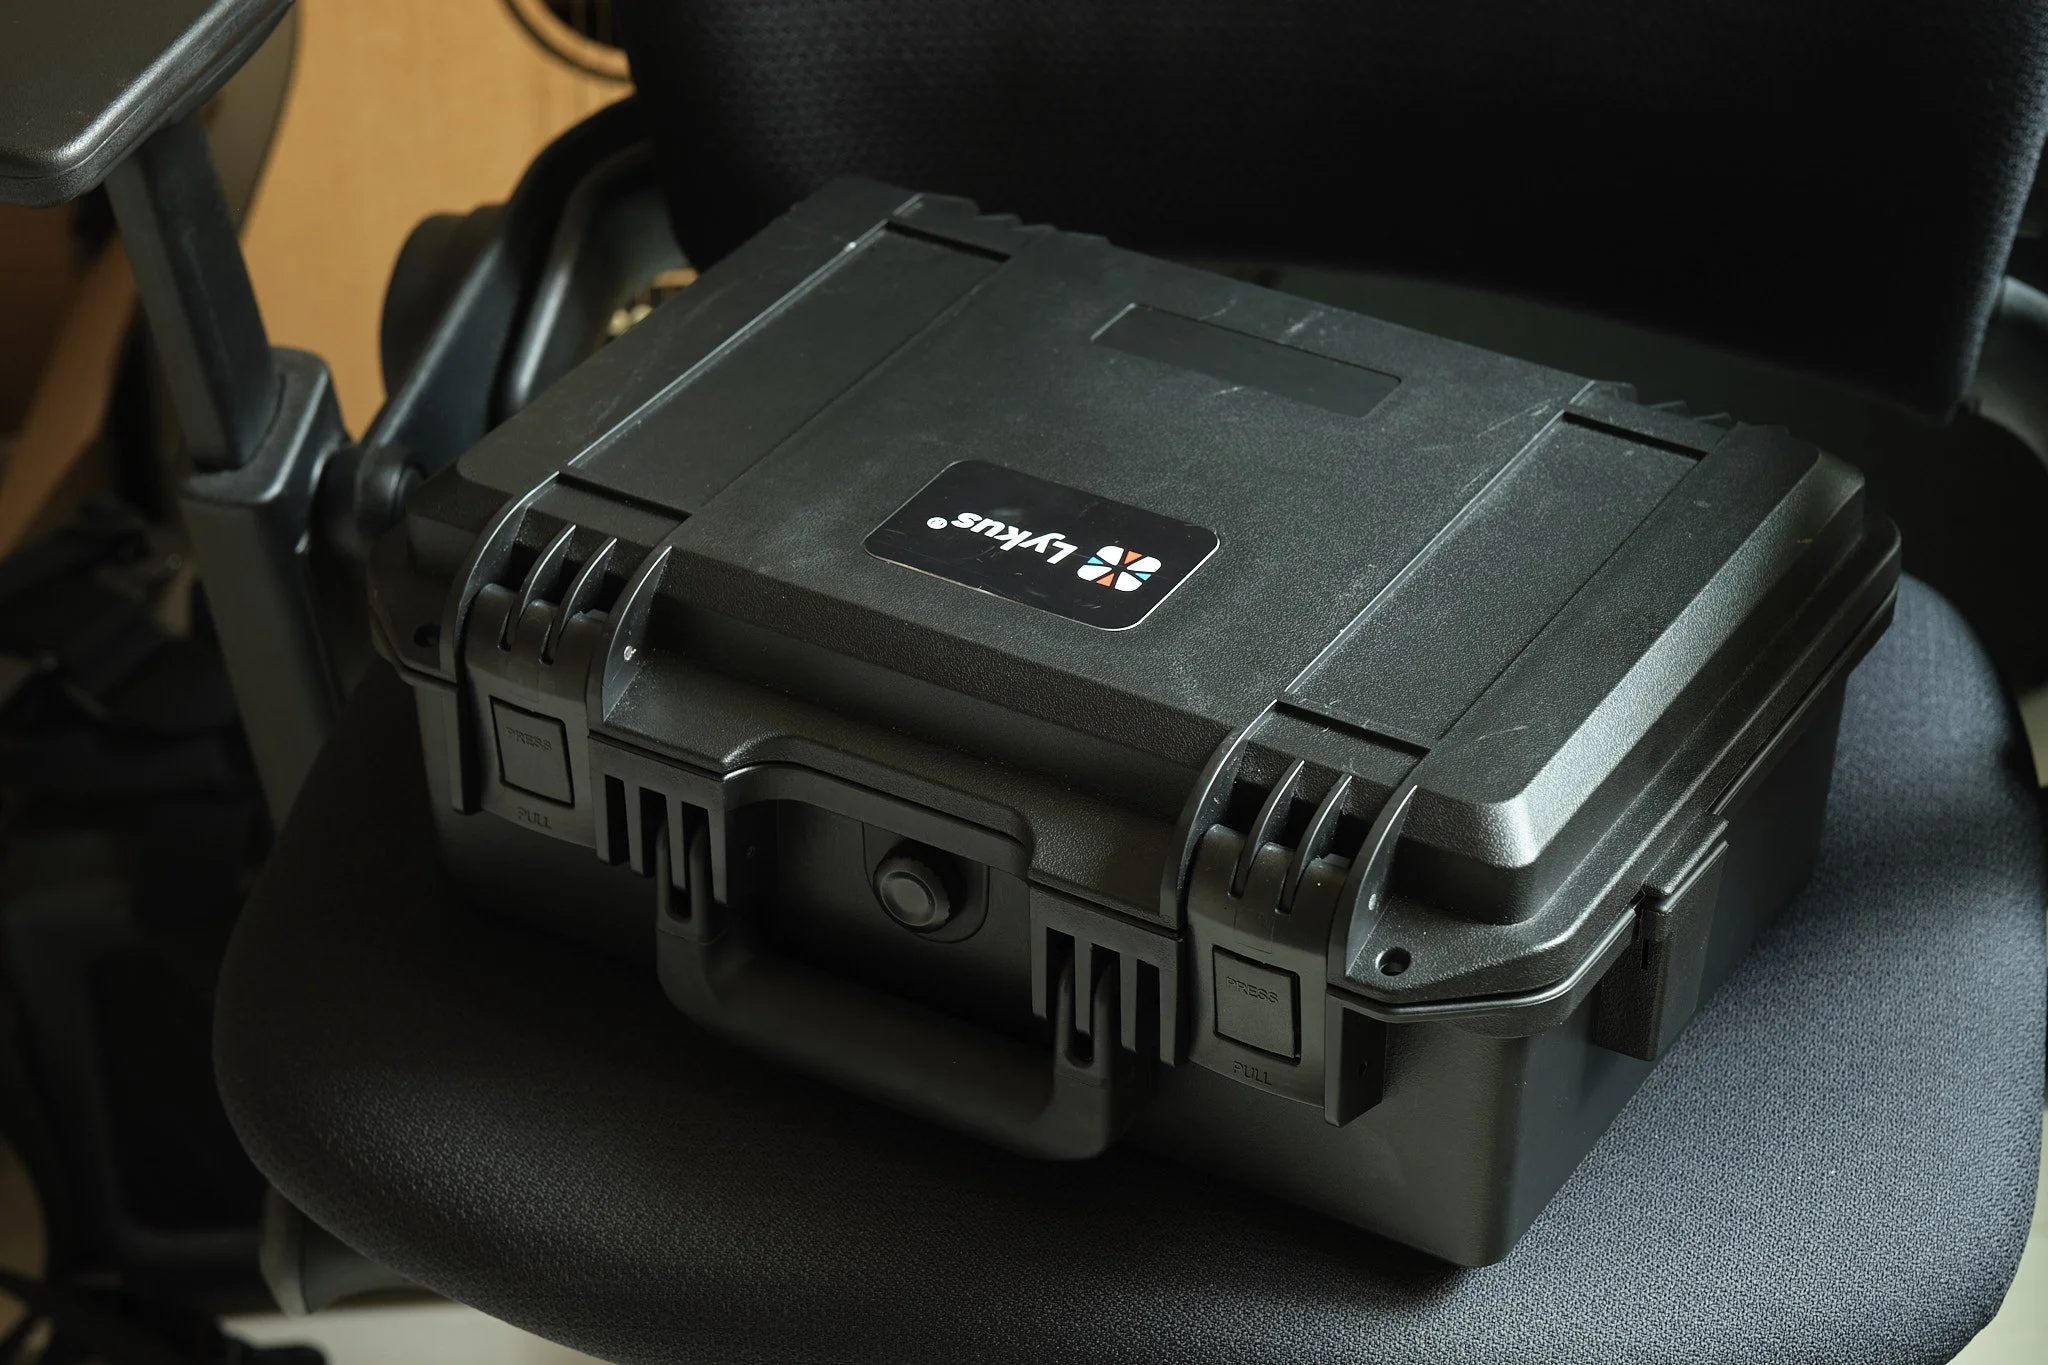
Keeping those 3 criterias in mind, this is the case that I ended up getting. I can easily fit 2-3 of them in my closet, housing my lenses, cameras as well
3 - How to set it up
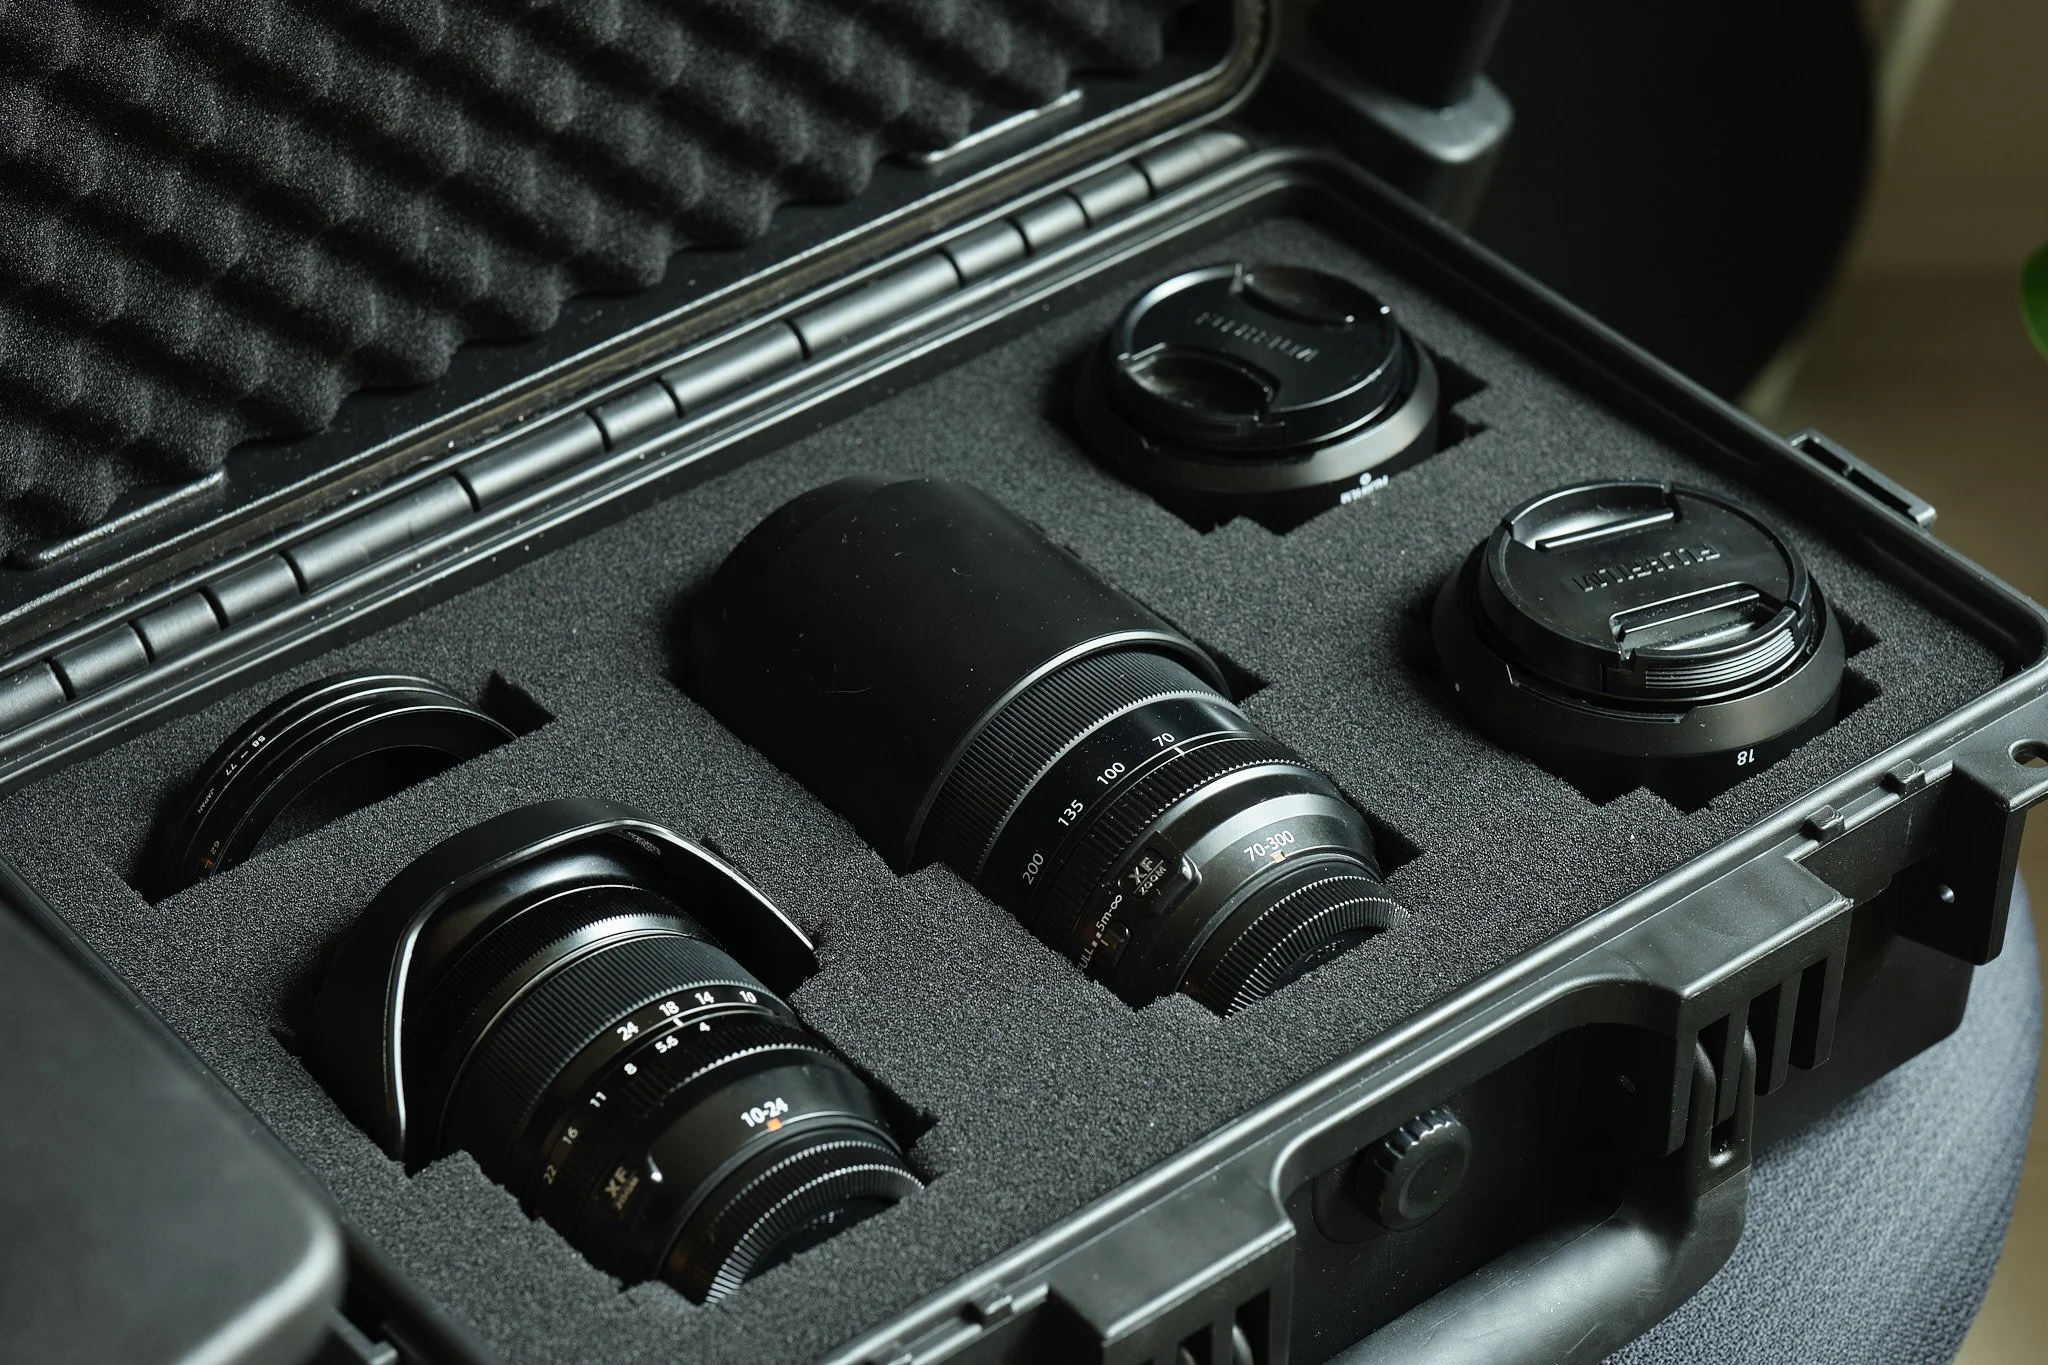
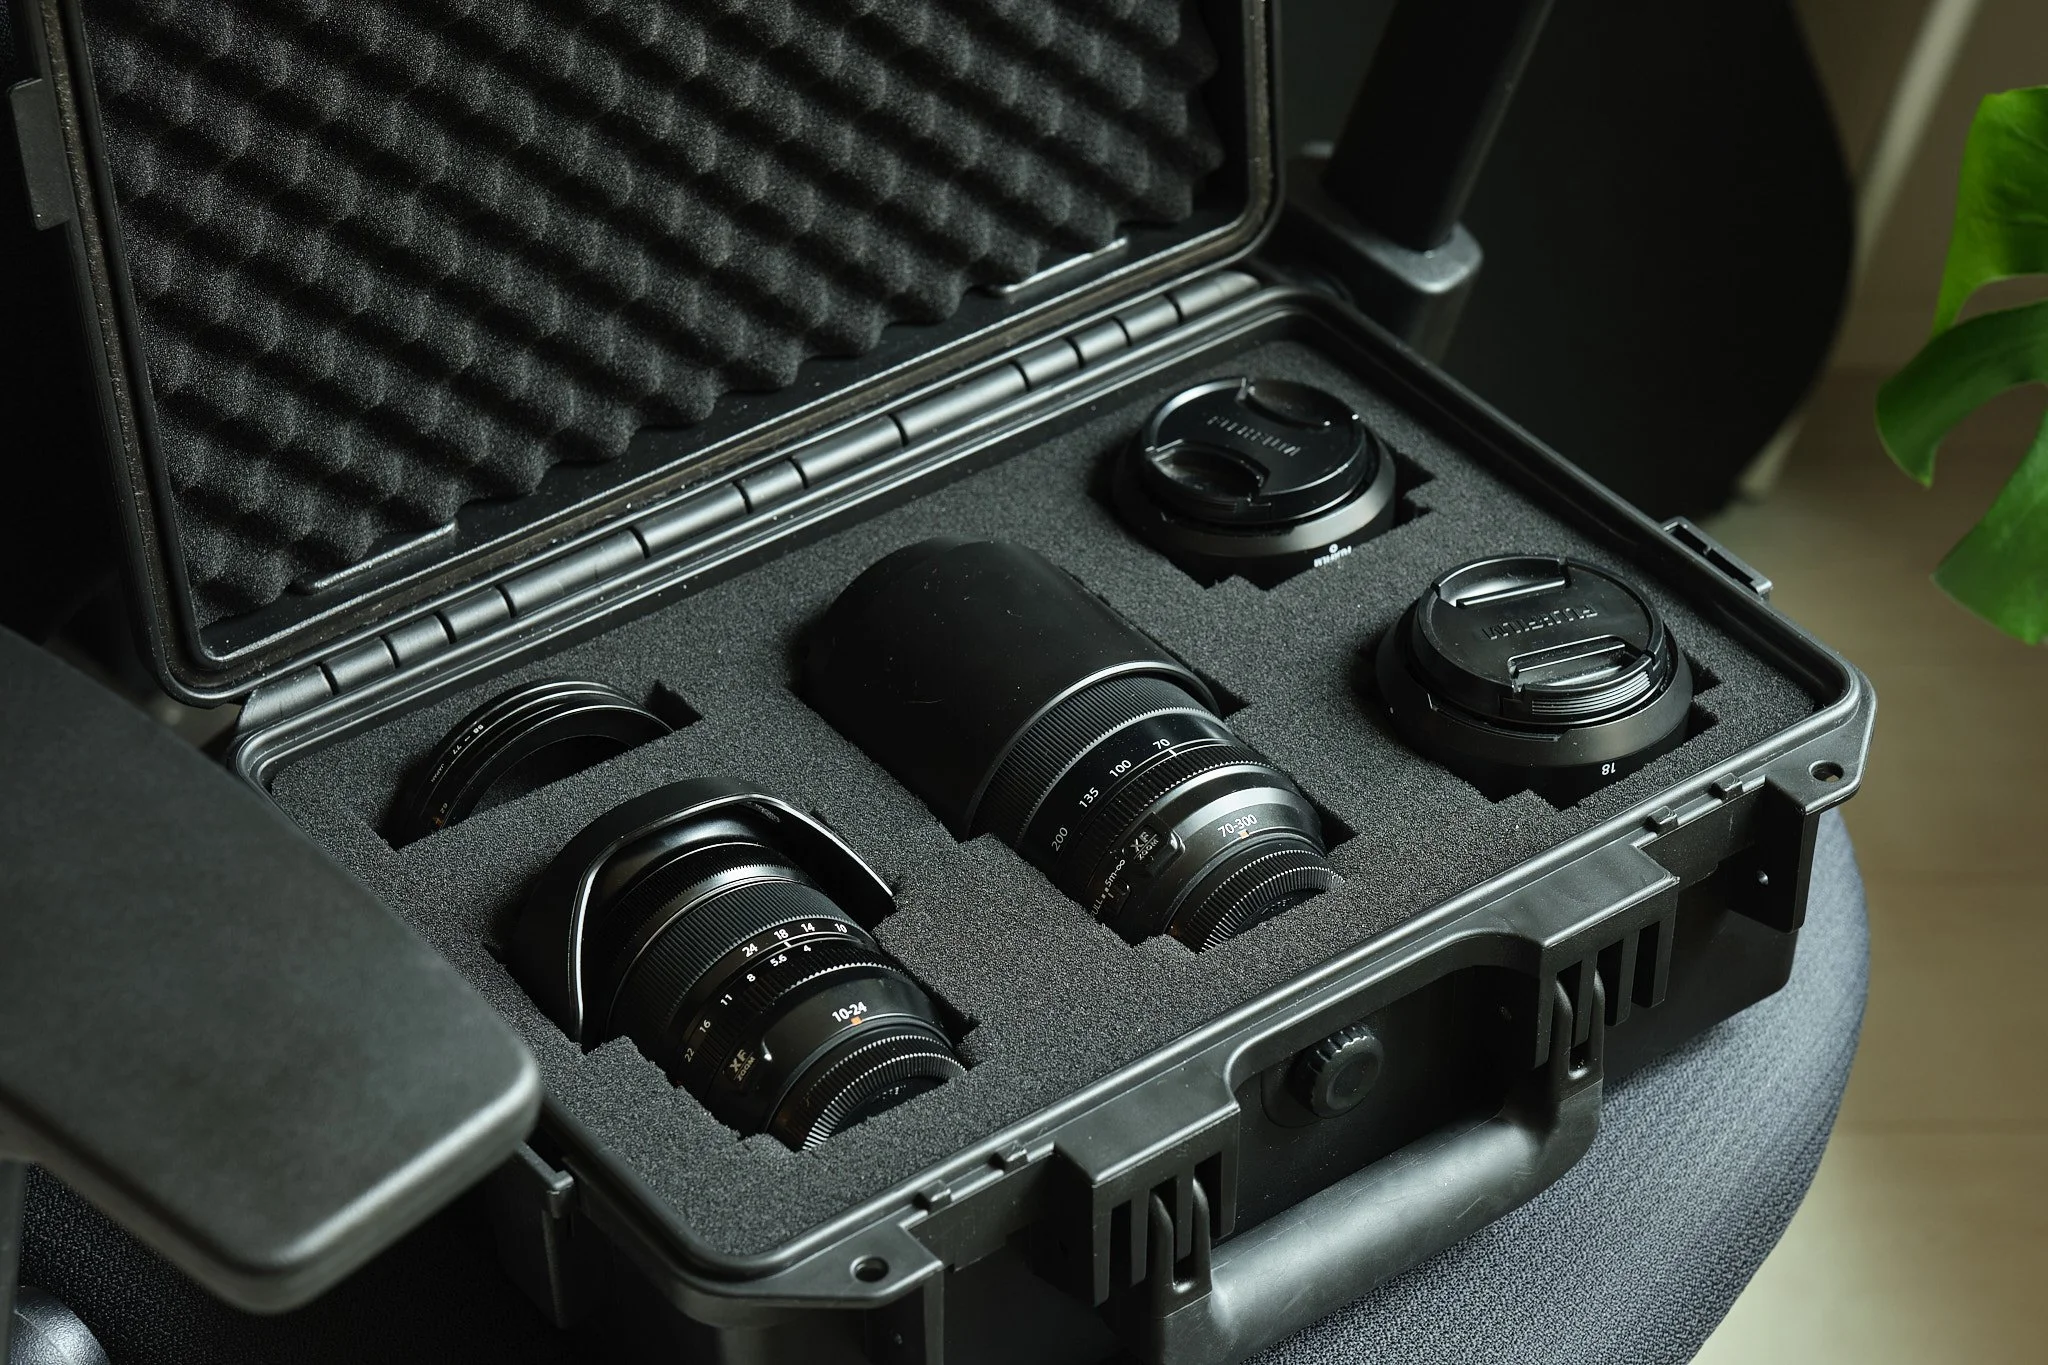
The setup of the case itself is pretty easy. First decide of what piece of gear you want to put in the case and once you know that, you can decide on how big you want your case to be. Personally for my lenses I use the 15.98x12.99x6.85inches and can fit all my lenses in there.
Then once you receive it, all you have to do is to place your gear the way you want and remove the foam that needs to be removed gradually to perfectly fit your gear. And the key here is gradually, to make sure that you don’t remove too much foam and have loose gear in your case. It is pretty straightforward.
Don’t forget to leave some foam at the bottom to keep your gear protected in every direction, and I also recommend you to leave your gear slightly up top so that the top foam will keep it in place and it won’t move.
Do you want to buy a case?
Watch the full video here.


